Editor
Summary: The XBRUSH Editor is a layer-based editing tool that lets you add text, effects, and layers to your generated images and videos to create presentation-ready designs. You can download your work in PDF, SVG, PNG, or JSON format.
What Is the Editor?
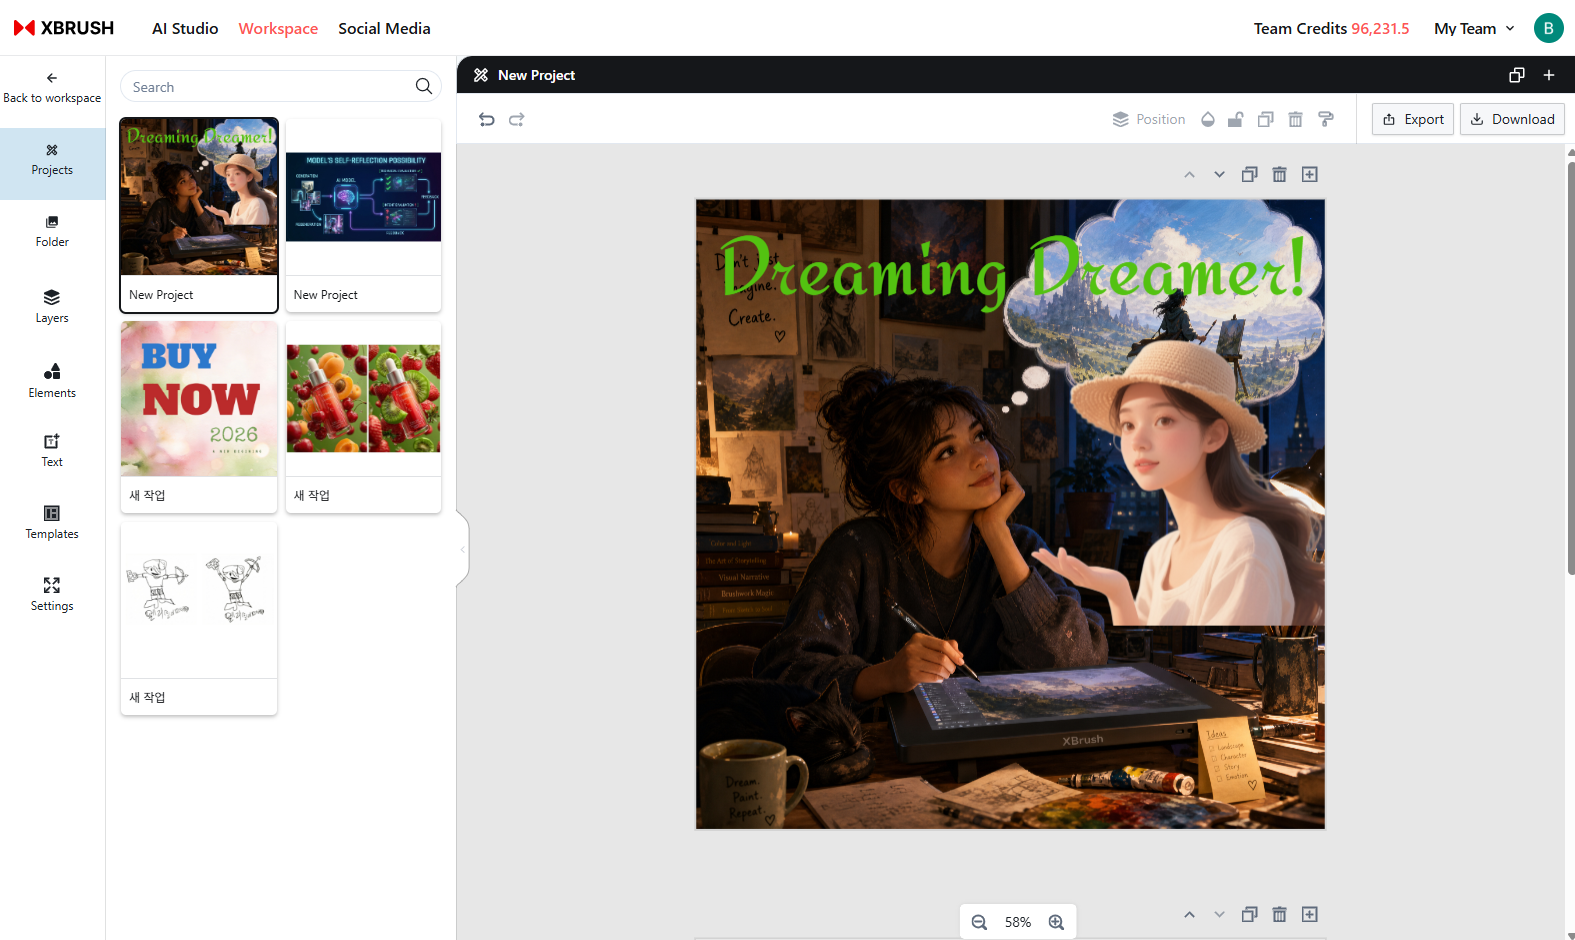
The Editor is XBRUSH's visual editing tool for working with images and videos you've generated. You can add text, shapes, and effects, then organize them using layers. Designs are managed in units called "projects," and finished work can be downloaded in PDF, SVG, PNG, or JSON format. The editor is completely free to use — no credits required.
Editor Interface
An overview of the editor's main features and how to use them.
In the editor, you work with designs in units called "projects," and the output format is a presentation. You can use your generated images and videos, add text and other elements, and build a presentation from scratch. Projects can be saved and downloaded at any time.
- Project: The unit of work in the editor. You can add new projects, rename them, save them, or delete them.
- Folder: Browse workspace folders and manage your AI-generated images.
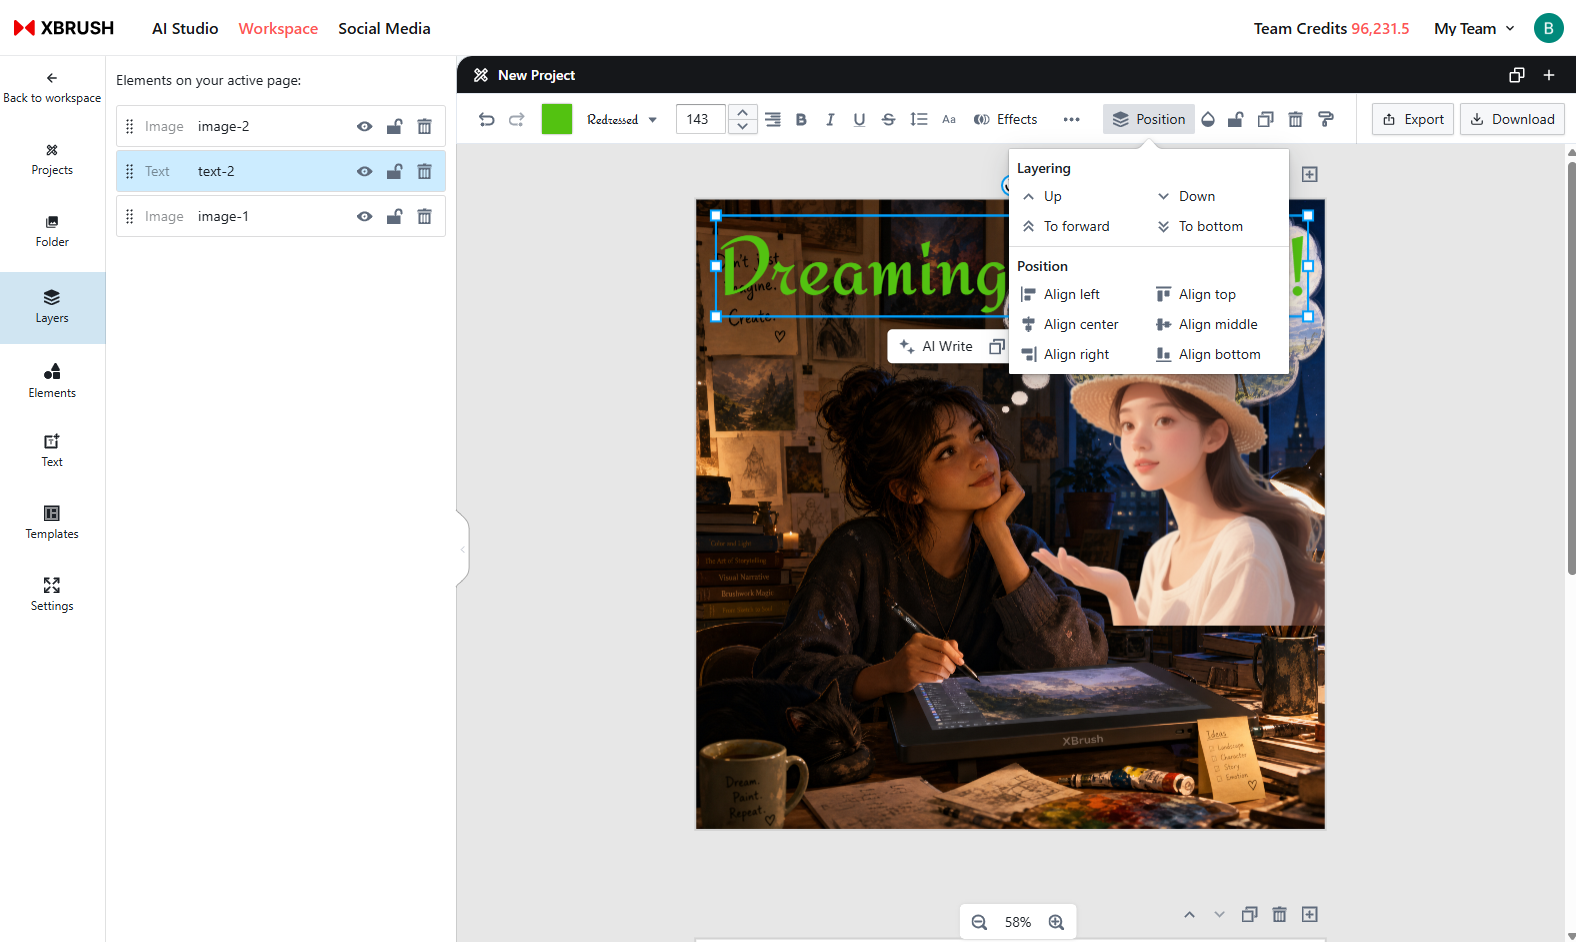
- Layers: Adjust the stacking order of design elements.
- Elements: Add arrows, shapes, and other design elements.
- Text: Add text using a selection of prepared fonts and styles.
- Templates: Apply ready-made design templates to your pages.
- Settings: Manage editor preferences and page settings.
Projects
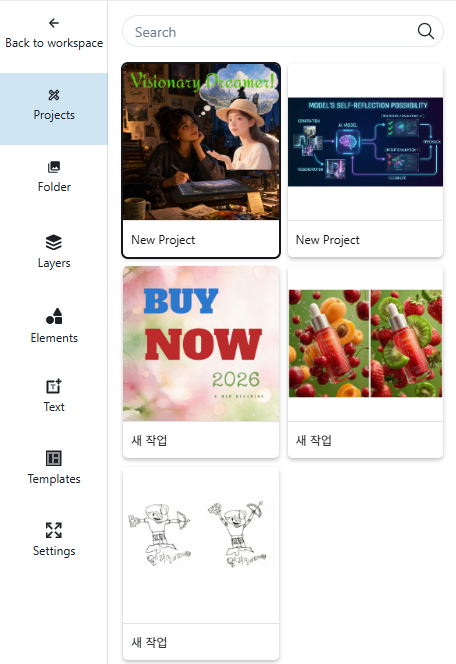
Projects
- When changes are made to a project, the "Save" icon becomes active so you can save your work.

Saving a project
- Click the Save icon to save the current state of your project.
- You can rename a saved project.
- Hovering over a saved project reveals a trash icon; clicking it will delete the project.

Adding a new project
- Click the "+" icon to add a new project. A blank page (canvas) for the new project will appear.

Renaming a project
- Double-click a project name, enter a new name, and press Enter. A confirmation popup will appear.
- Click Confirm in the popup to apply the new project name.
Folder
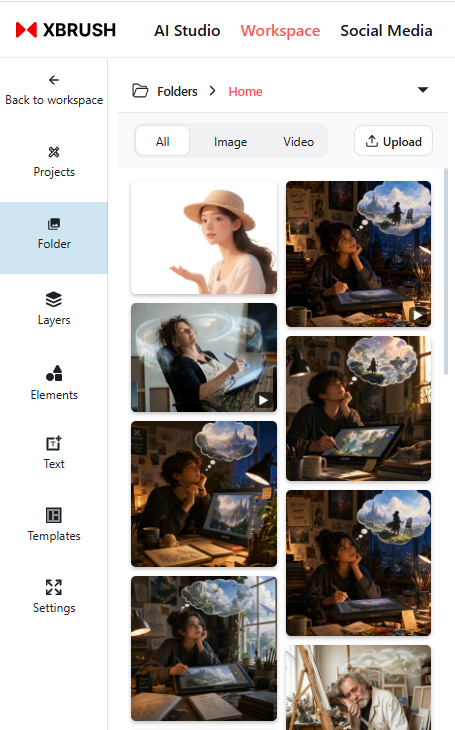
Folder
- Browse your workspace folders and manage AI-generated images.
- Switch folders to access images from a different folder directly in the editor.
Upload local images
- Upload images from your local device to the current folder to use them in your design.
Layers
Layers
- Control the stacking order of design elements such as images, text, videos, and shapes.
- Elements on higher layers will cover those on lower layers, so defining the order carefully lets you achieve the visual design you want.
- There are four ways to change the stacking order of layers:
- Select the main side menu to open the left panel, then drag layer items with your mouse to reorder them.
- Click the "Position" option in the top bar menu to rearrange layers.
- Left-click an element to select it, then choose "Position" from the contextual menu to adjust its layer.
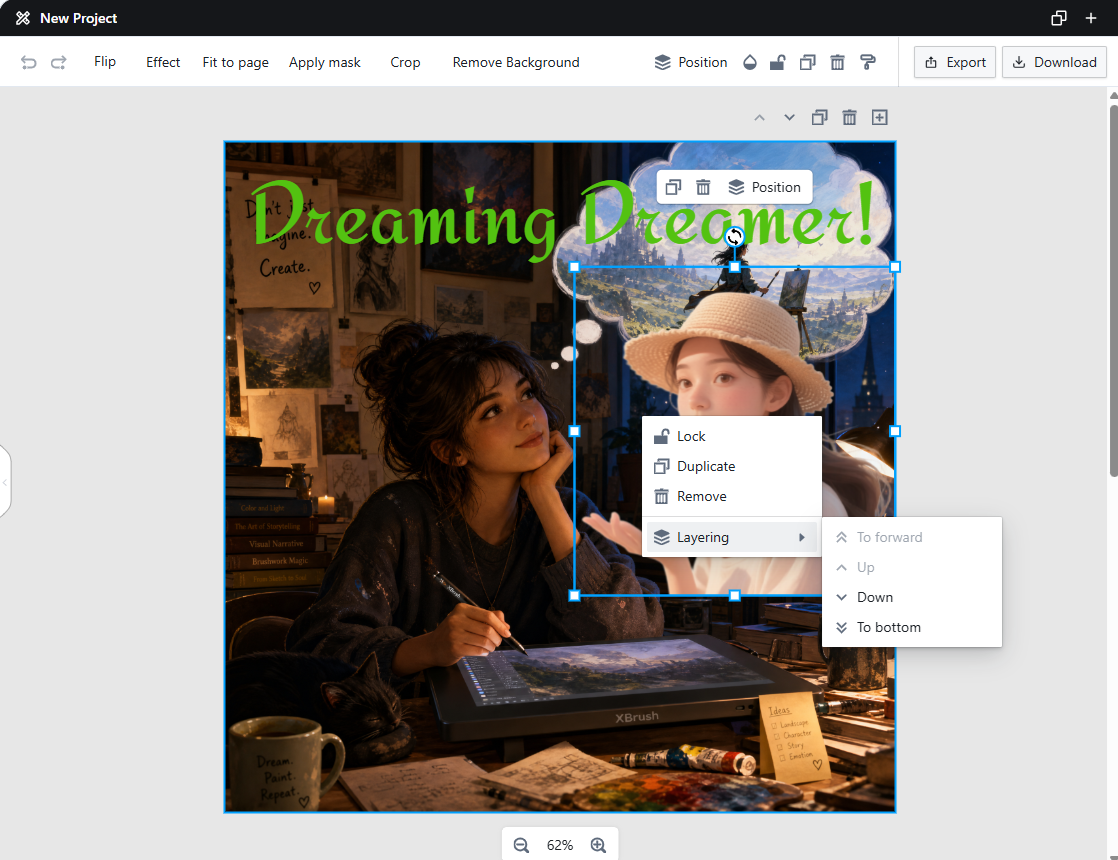
- Right-click an element and use the "Layering" option in the context menu.
- Layer adjustments are designed to be as intuitive as possible.
Adjusting layers from the right-click context menu
- Right-click an element and use the "Layering" option in the context menu to adjust its position.
Elements
Elements
- A collection of elements such as arrows and shapes is available for you to add to your design.
Text
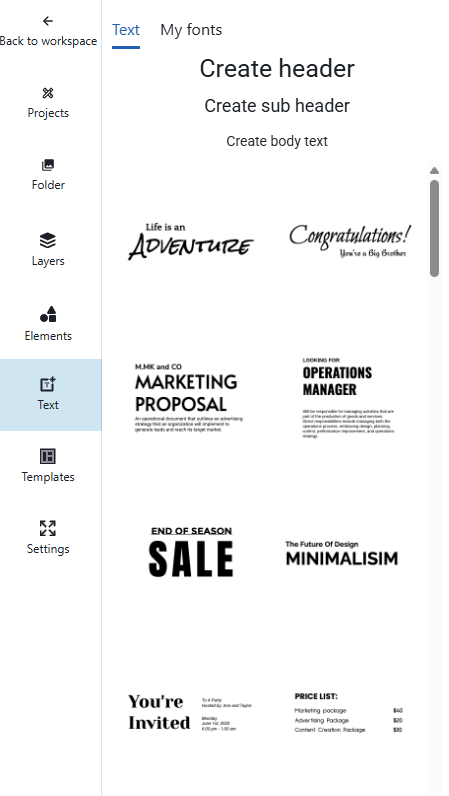
Text
- Add text and styled text blocks to your design.
Templates
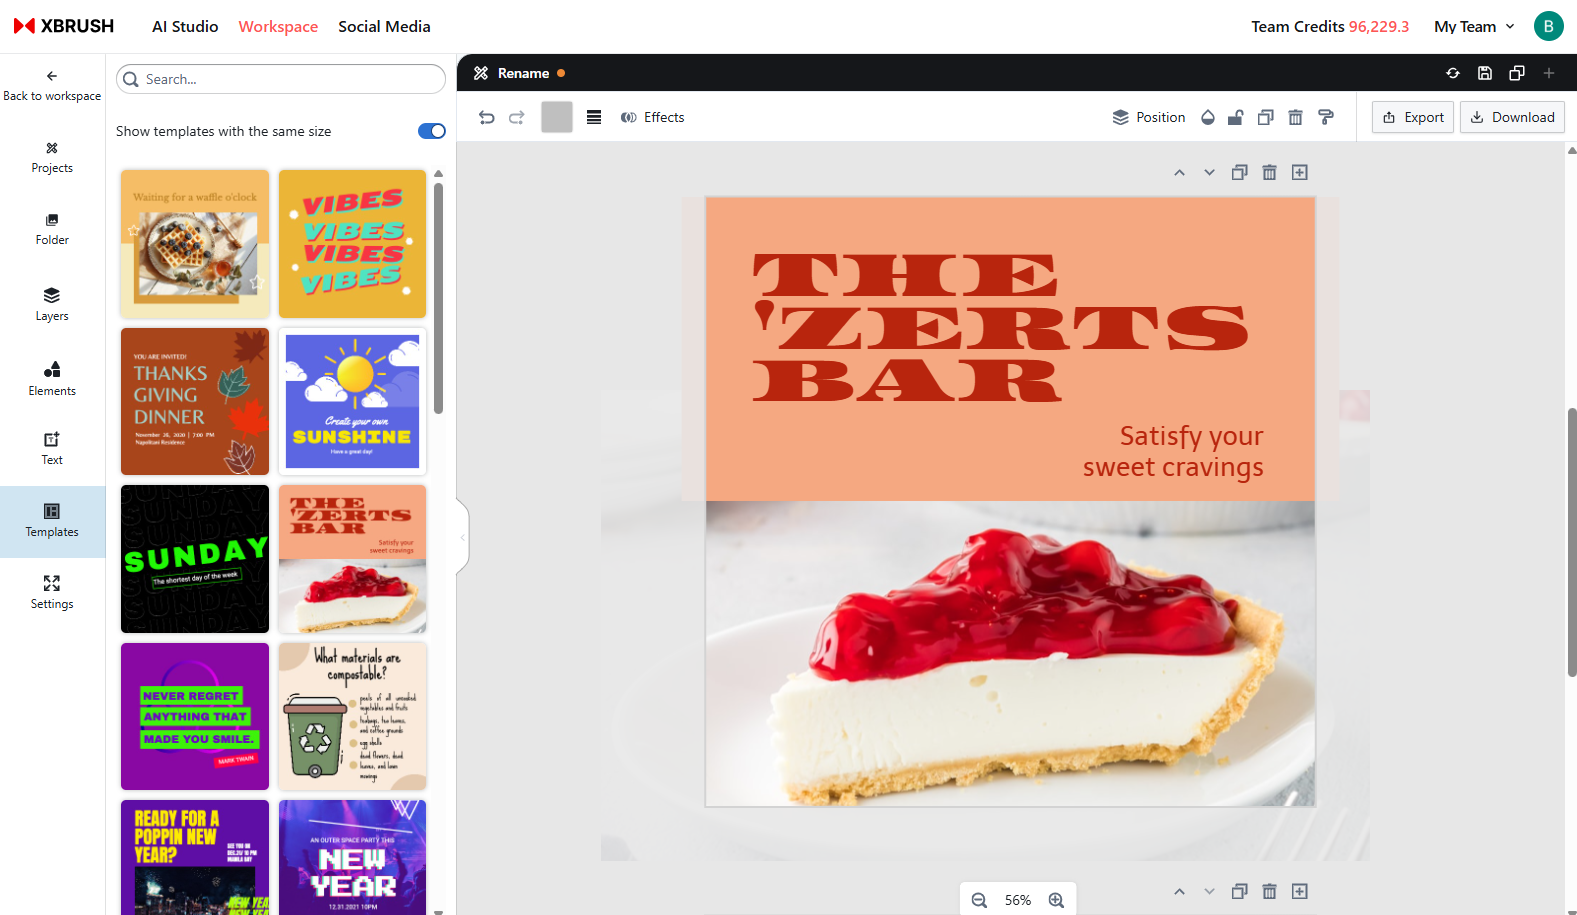
Templates
- Use ready-made templates to add and edit pages quickly.
Settings
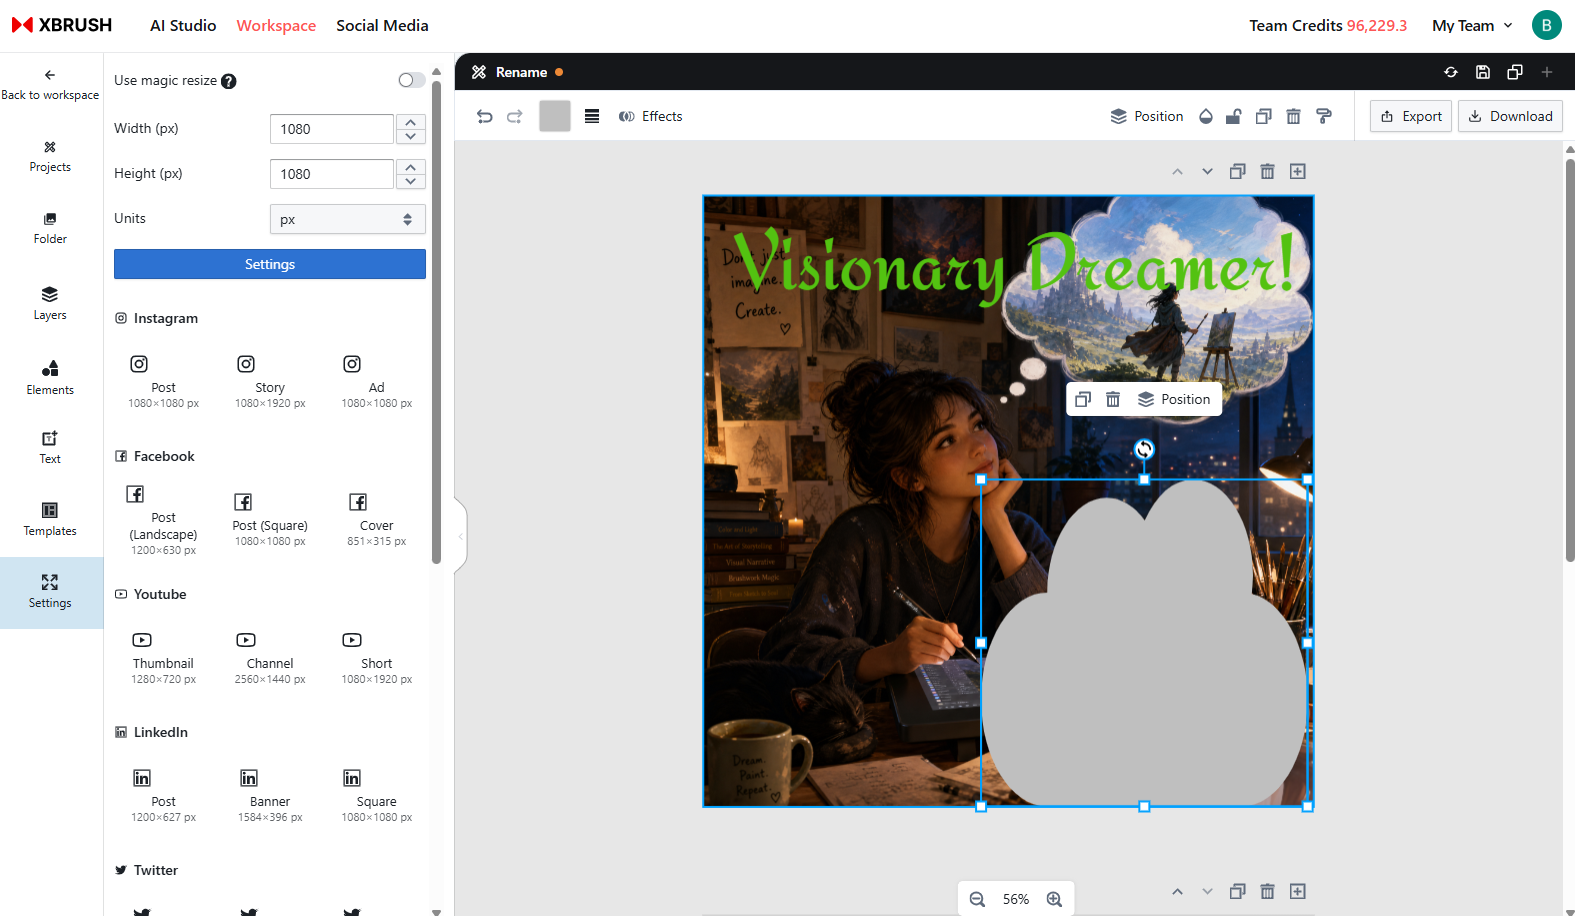
Settings
- Manage editor preferences and page settings, including page dimensions and layout format.
Next Steps